What a complete project looks like
You open your spread file. Here’s what you see on the screen.
The tab at the top of the window ends in (CMYK/8), not RGB. That means the colors you see are close to the colors the printer will print.
The canvas is wide and short, like an open book lying flat. Go to Image → Image Size, and it says 17.25 wide, 11.25 tall, in inches, with a resolution of 300. Exactly those numbers.
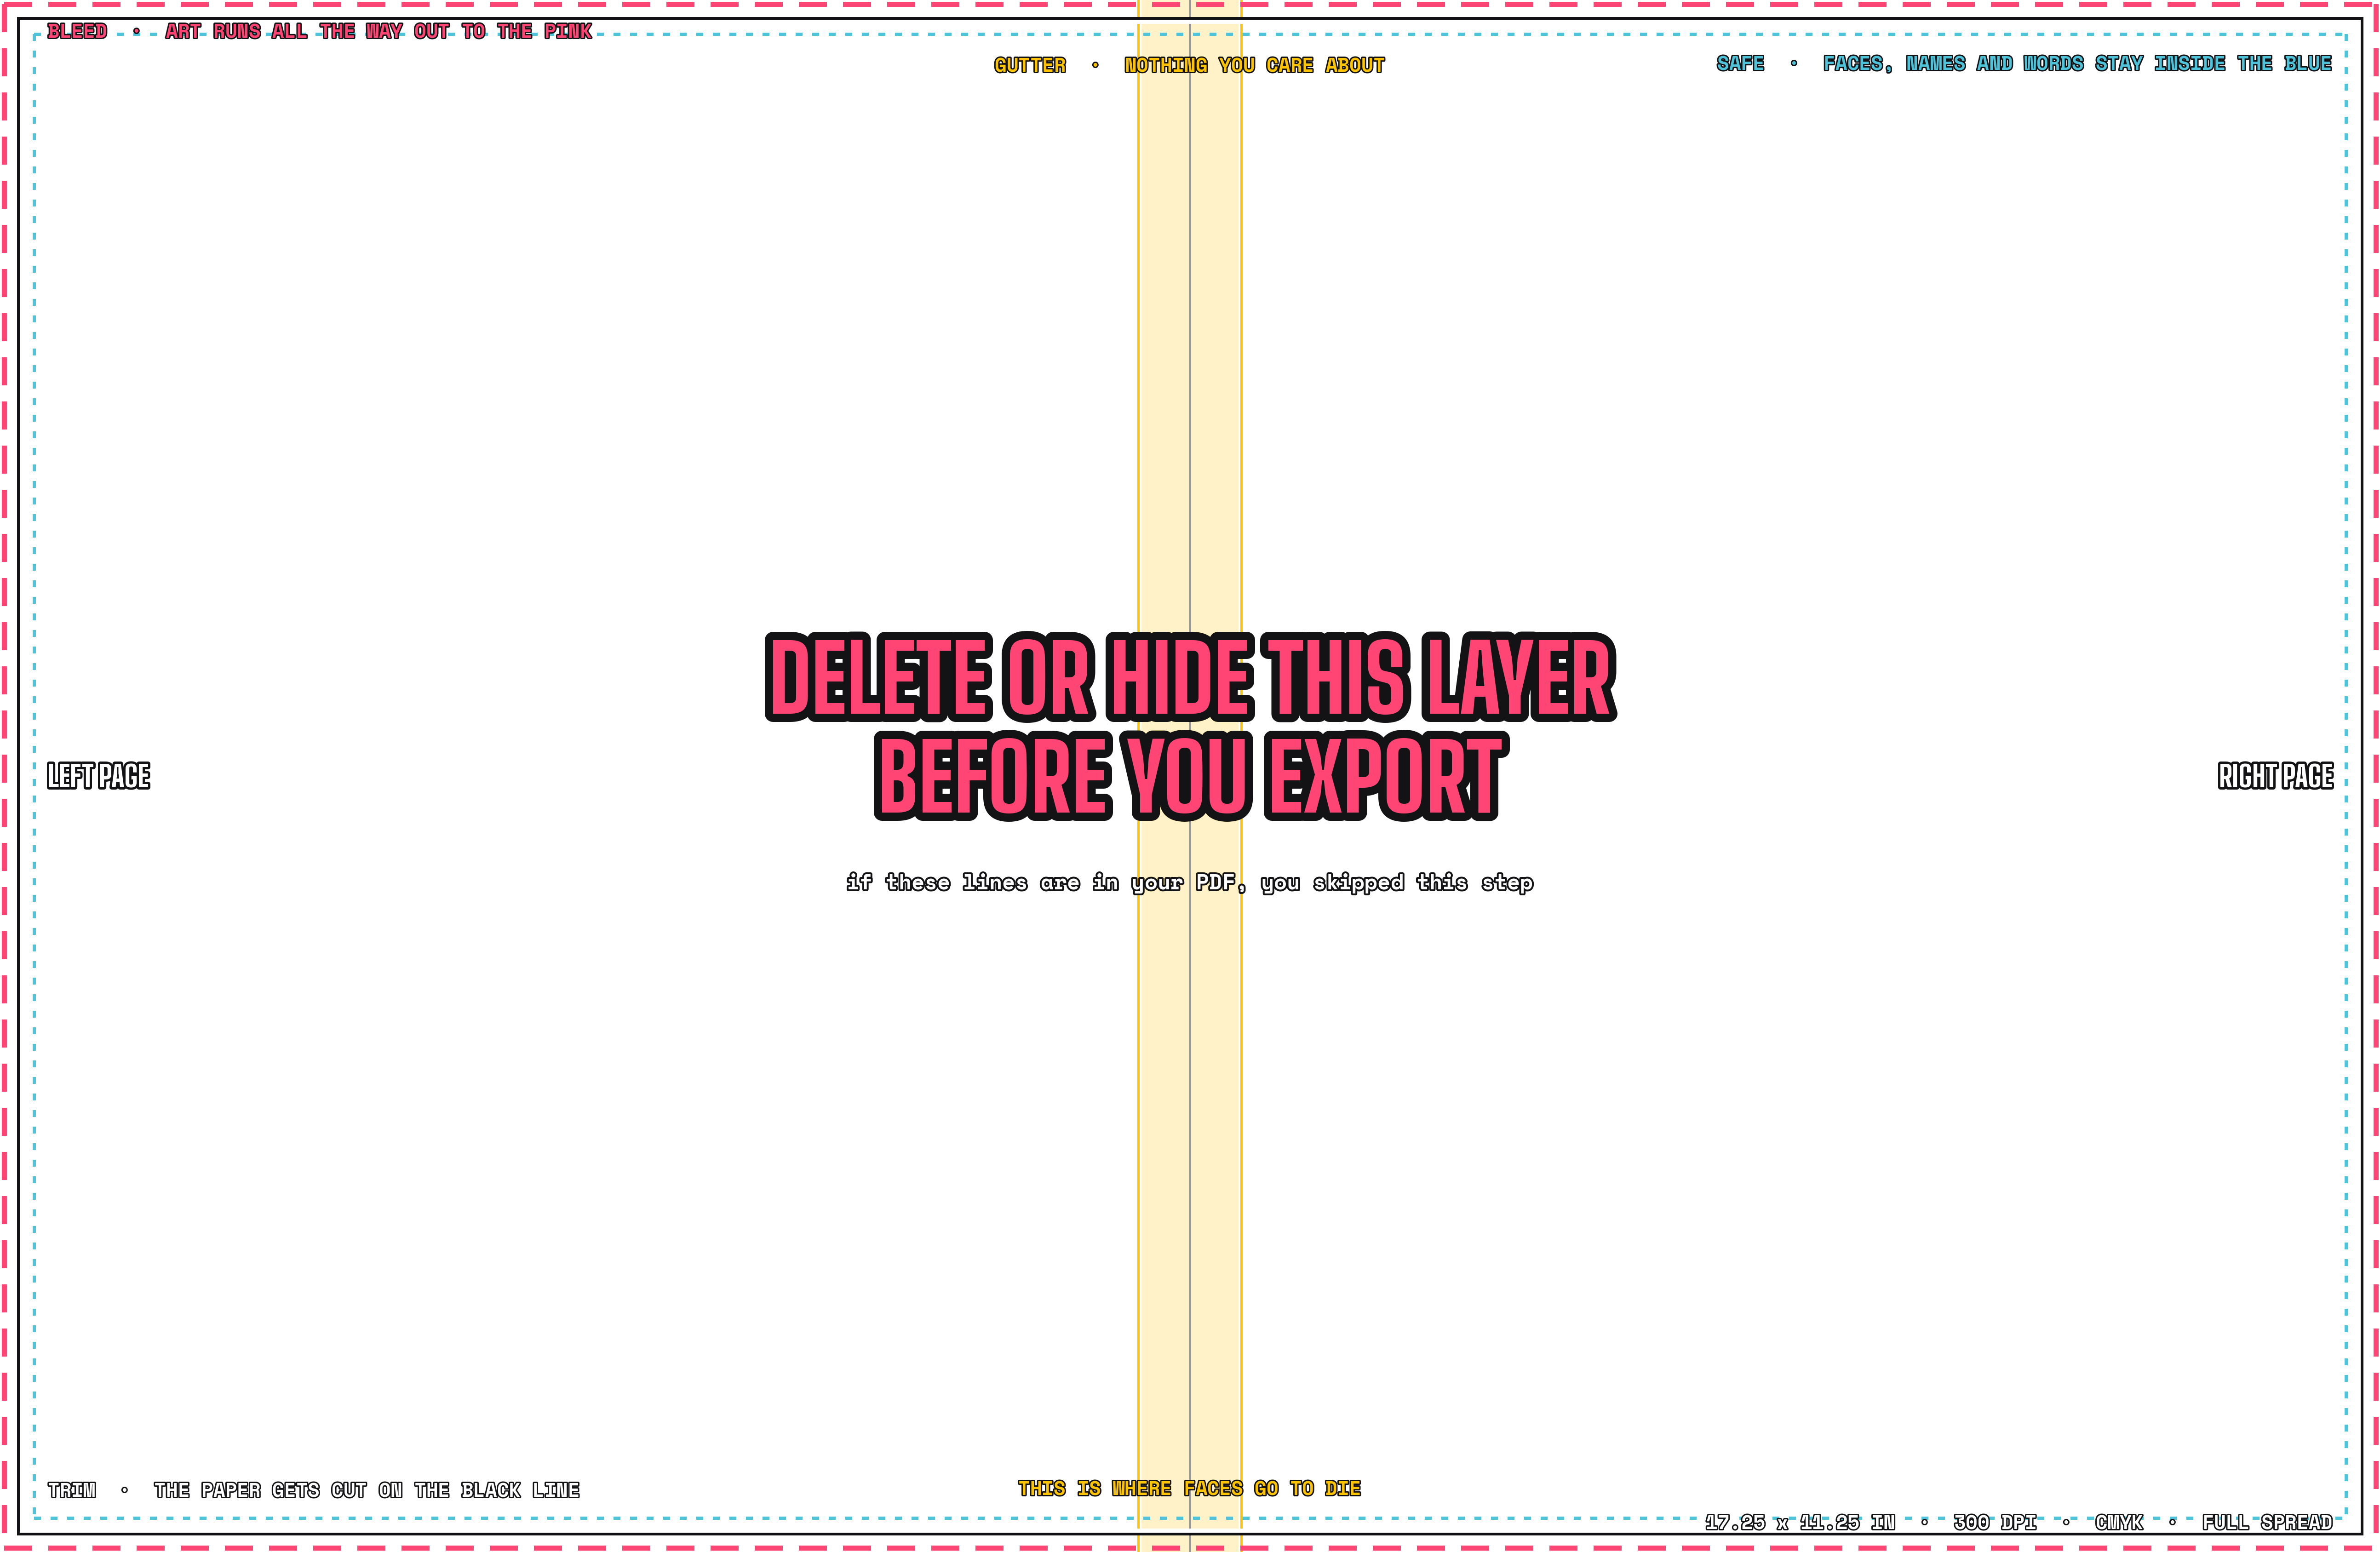
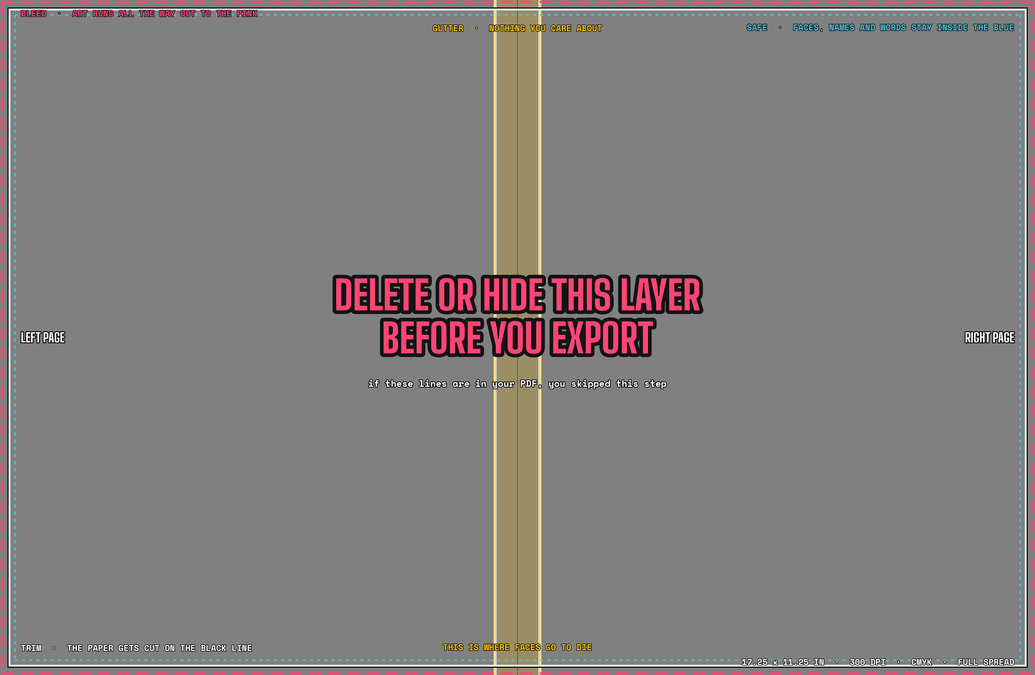
On top of everything, above every photo and every word, is the guides layer. Pink dashes run along the outer edge of the canvas, with no white gap. A black line sits just inside the pink, and a blue dotted line sits inside the black. A yellow band runs down the middle. In the Layers panel, the guides are at the very top with a lock on them, so nothing can move them by accident.
The file is saved in your spread folder in Drive, with your spread name: FALL_PEP_RALLY_Gianna C_42-43.psd. It’s not called Untitled-1.
When you export, the PDF has none of the guides on it. No pink, no yellow band, and no giant words across the middle. Just your spread.
That’s a finished setup.Compare yours to it. Whatever is missing is your to-do list.
One PNG, all year
DOWNLOAD THE GUIDES LAYER It works in Photoshop and Canva. You’ll use this same file for every spread you build.
- PhotoshopWhen photos are the main thing. Sports, events, candids, and anything that runs off the edge.
- CanvaWhen it’s mostly text. Ads, indexes, and text pages.
Still not sure which tool your spread needs? Ask your chair. The Hand-In explains it in more detail.
Photoshop
- File → New.
- Change the units dropdown to Inches first, before you type anything.
- Set Width to
17.25and Height to11.25. - Set Resolution to
300, Pixels/Inch. - Set Color Mode to CMYK Color, 8 bit.
- Click Create.
- Check your work: the tab should end in
(CMYK/8). Does it say RGB? Close it without saving, and start over. It takes twenty seconds. - Drag the guides PNG onto the window. Press Enter.
- Drag the guides layer to the very top of the Layers panel. Click the lock icon.
- File → Save As. Name it with your spread name, and save it in your spread folder.
Skip everything else in that New window: the preset tiles, Artboards, Background Contents, and Advanced Options.
Leave them alone.
Canva
- Sign in with your school account. Can’t find your designs? You’re in the wrong account. Check the circle at the top right.
- Create a design → Custom size.
- Change the units from px to in first.
- Set Width to
17.25and Height to11.25. Click Create new design. - Click Uploads → Upload files, and pick the guides PNG. Click it once to add it to your design.
- Drag the corners until it covers the whole canvas, edge to edge.
- Right-click → Lock.
- Check your work: the pink dashes should sit right on the edge of the canvas. See a white gap? Unlock it, resize it, and lock it again.
Skip the template suggestions.
You’re starting from a blank page on purpose.
Before every export
At all three stages, in every cycle. Every single time.
- Photoshop: click the eye icon next to the guides layer so it turns off. Canva: right-click → Unlock → Delete.
- Export.
- Open the PDF you just made, and really look at it.
- No pink, no yellow, and no giant words? It’s ready to post.
The guides stay on top so you can always see if a face is getting too close to the spine. They’re like the HUD in a game, not a background.
And the HUD never shows up in the screenshot.
The one mistake you can’t undo
If it’s too small, making it bigger means the computer has to guess at new pixels, and it looks blurry. If it’s the wrong shape, cropping cuts off your art. Nobody notices until the book is at the printer.
Every other mistake on this page can be fixed.This one can’t.
The rubric
Seven lines. Each one is done or not done. Tap a line to check it off. It stays checked on this device.
- ☐The canvas is
17.25 x 11.25 in - ☐Photoshop:
300dpi, tab ends in(CMYK/8) - ☐Canva: built in your school account
- ☐The guides cover the canvas edge to edge, with no white gap
- ☐The guides are the top layer, and they’re locked
- ☐Saved with your spread name, in your spread folder
- ☐The exported PDF has no pink, no yellow, and no giant words
Everything else is for everyone.